
A plumbing leak often announces itself through the wall rather than at the pipe. Paint blisters, a ceiling stain spreads, or a baseboard feels damp even though no fixture is visibly leaking. The temptation is to patch the mark and restore the room quickly. A durable repair starts earlier: identify where the water came from, stop it, assess the concealed materials, and establish when the wall is ready to close.
Drywall repair and plumbing repair are closely connected, but they solve different problems. A plumber restores the water or drainage system. A drywall contractor rebuilds the surface and, where required, the specified wall or ceiling assembly. Between those stages, water damage may require drying, cleanup, or additional inspection. Understanding that sequence helps homeowners organize the work without paying for a beautiful finish that has to be opened again.
Start with the leak, not the stain
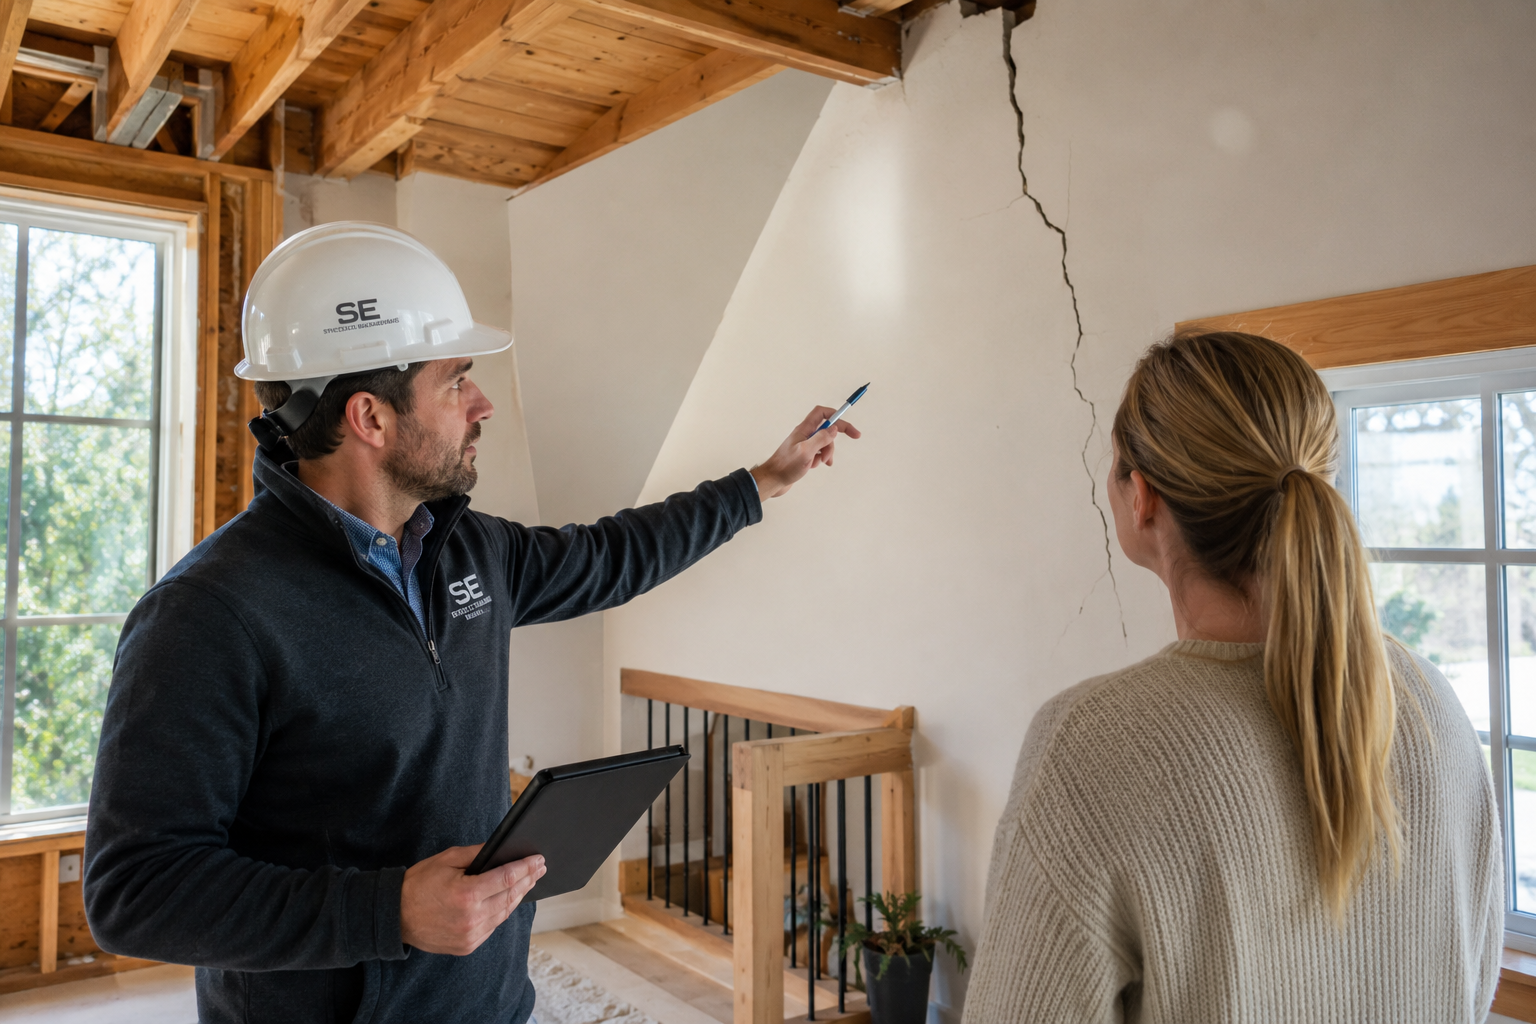
The visible mark is useful evidence, but it is not a reliable map of the failed pipe. Water can travel along framing, collect above a ceiling, or emerge at a joint some distance from the source. A stain beneath a bathroom may relate to a supply line, a drain connection, an appliance, or water escaping around a fixture. Similar symptoms can also come from a roof or exterior wall problem.
Describe what you have observed instead of naming a cause you cannot confirm. Record when the mark appeared, whether it changes after a shower or appliance cycle, and whether dripping continues when fixtures are not being used. Photograph the entire room and a closer view of the affected surface. This gives the inspecting trades useful context without disturbing the wall or exposing you to hidden hazards.
An active uncontrolled leak needs prompt plumbing attention. A 24/7 emergency plumber can be part of the response when water is continuing to escape and normal appointment timing is unsuitable. Confirm that the provider serves your location and explain the symptoms before arranging attendance. The drywall repair can be scoped after the immediate source-control work is understood.
Make the room safe before arranging cosmetic work
Keep people away from a ceiling that is sagging, soft, or visibly accumulating water. Do not stand underneath it to photograph a stain, poke a drainage hole, or pull off loose material. Water near lights, outlets, wiring, or electrical equipment also changes the situation. Avoid entering standing water or touching electrical devices in the affected area; seek appropriate emergency or electrical assistance when those hazards are present.
If an accessible water shutoff can be operated safely and you know which valve controls the leak, isolating the supply may help stop further damage. Do not force a seized valve or experiment with unfamiliar controls. In a rental, condominium, or shared commercial building, notify the responsible manager promptly because the relevant isolation point and other affected units may be outside your space.
Move belongings only where it is safe to do so. Set aside an unobstructed route for the trades and describe any access limitations when booking. A simple room plan, photographs, and clear information about pets, tenants, or operating hours often save more time than attempting preliminary demolition. Safety and useful access are the homeowner's priorities at this stage.
Expect the access opening to differ from the final repair
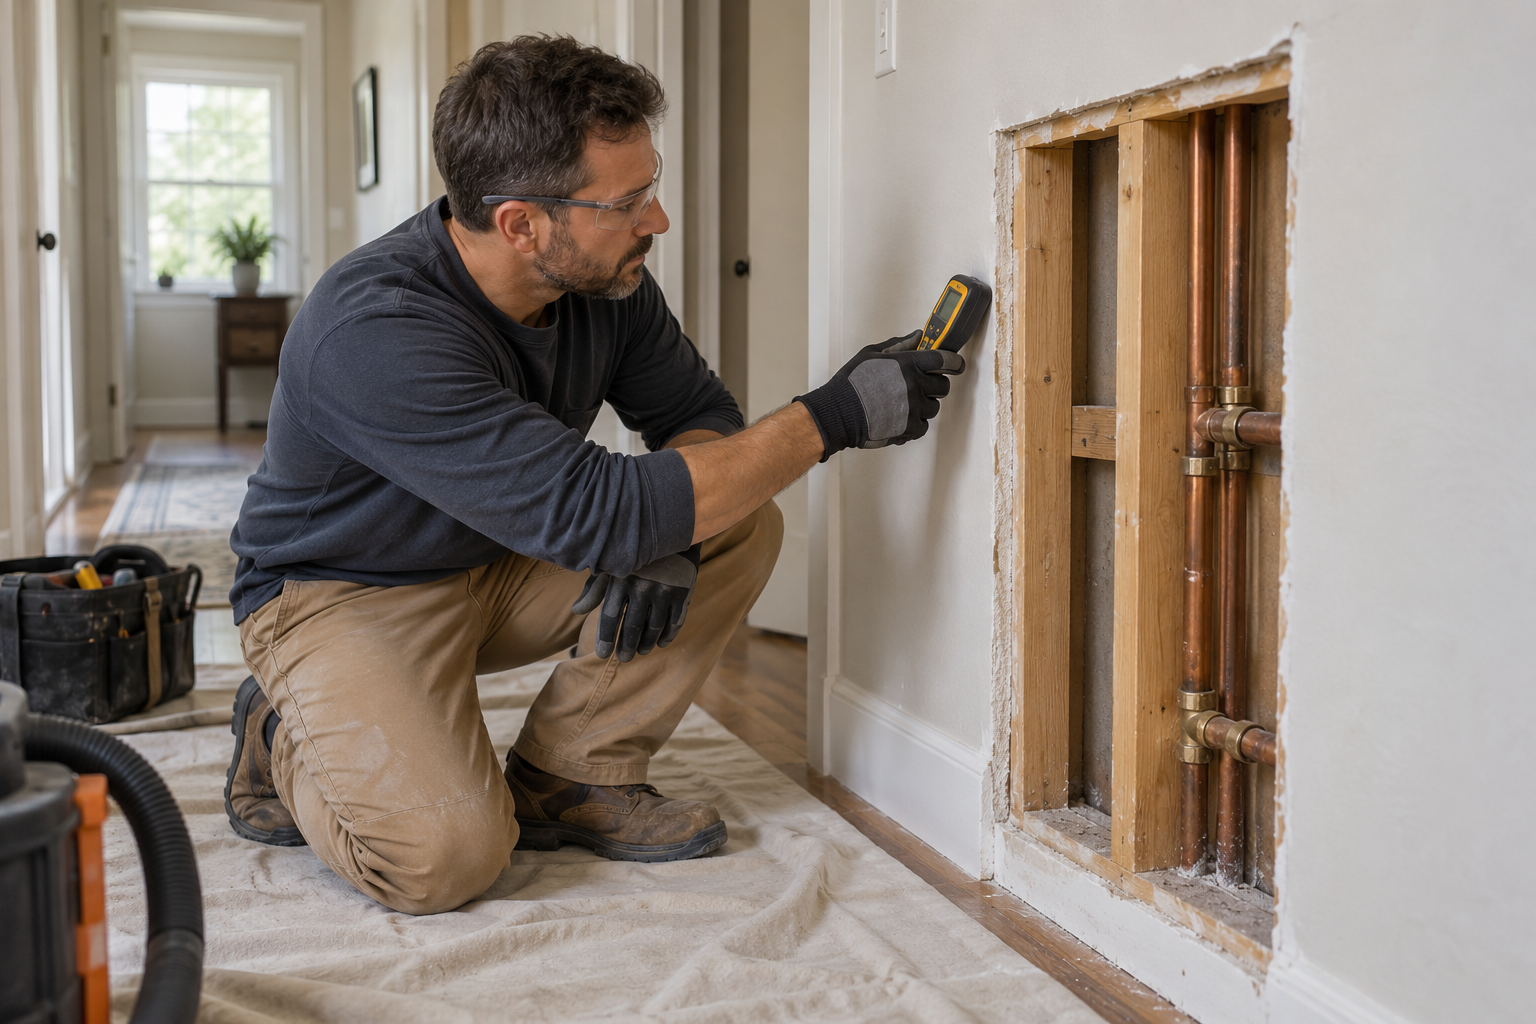
A plumber may need a targeted opening to reach a fitting or inspect a pipe. That opening is created to solve the plumbing problem, not to produce the most convenient finished drywall patch. After the source is repaired, the affected board and cavity may need a broader assessment. The eventual drywall scope can therefore be larger than the original access hole.
Ask the plumber to identify what was repaired and where the connection sits. Request photographs before the opening is covered. If further testing or inspection is required, establish who will perform it and when. The drywall contractor should know whether the plumbing work is complete, whether access must remain available, and whether a removable panel is being considered for a serviceable component.
There is no universal rule that every stained sheet must be replaced or every small hole can be patched immediately. The decision depends on the condition of the board, the duration and source of wetting, contamination concerns, and the surrounding assembly. A contractor should explain the proposed boundaries of removal and the evidence behind them rather than relying on the visible paint mark alone.
Separate drying from surface finishing
A wall can look dry while concealed materials still need attention. Paint, paper facing, insulation, framing, and the back of the gypsum board are different surfaces in different conditions. Touching the room-side face does not establish that the cavity is ready to close. Where a restoration specialist is involved, ask for the drying assessment and the conditions required before reconstruction begins.
The EPA's moisture and mold guidance emphasizes correcting the water source and drying affected areas promptly. For the drywall schedule, the practical implication is simple: do not use new board, joint compound, primer, or paint to hide an unresolved moisture problem. Substantial damage, suspected hidden mold, or contaminated water calls for an experienced cleanup professional.
Ask who is responsible for monitoring progress and authorizing reconstruction. The plumber may confirm the pipe repair, while a restoration contractor evaluates drying and cleanup. Those are separate milestones. Agreeing on them avoids a situation in which each trade assumes another person checked the wall. Keep the relevant reports together with photographs and invoices so the handoff is clear.
Rebuild the wall or ceiling that was actually there
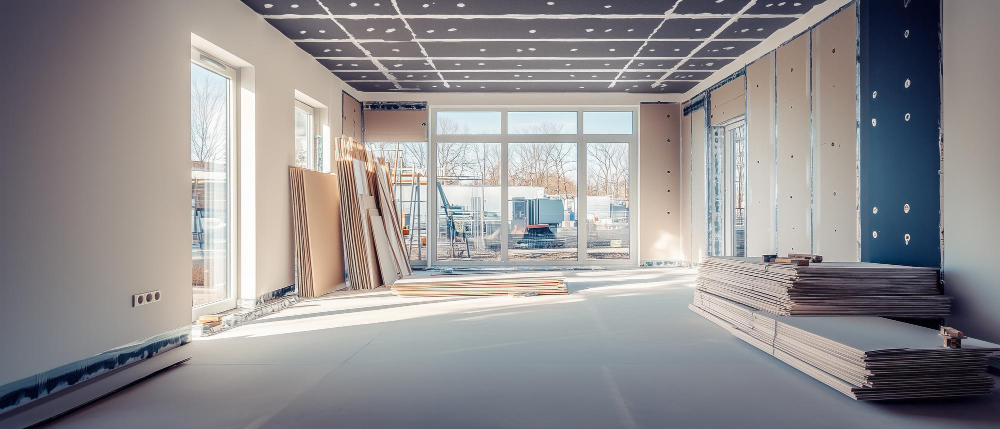
Drywall is more than a paintable skin. The existing surface may belong to a fire-rated separation, an acoustic wall, a bathroom assembly, or a ceiling with a particular board thickness and fastening pattern. A patch that looks acceptable can still overlook an important feature of the original construction. Identify the room's use and any known assembly requirements before selecting materials.
In an ordinary interior repair, the contractor needs sound edges, appropriate backing, suitable board, and a plan for blending the joints. In more specialized assemblies, the work may require documented details or review by the responsible building professional. Avoid assuming that a generic moisture-resistant board, extra compound, or a thicker sheet is automatically the correct replacement.
This matters particularly in multi-unit buildings, garages, mechanical rooms, and commercial tenant spaces. Inform the drywall contractor about the building type and provide available drawings or prior specifications. If an assembly's requirements are unclear, resolve that question before boarding. Reopening a finished wall to restore a missing detail is more disruptive than establishing the requirements at the start.
Plan for texture, light, and the size of the finish area
The new patch may be small, but the area needed to blend it can be larger. Joint compound needs space to taper into the existing surface. A textured ceiling may require a broader texture strategy, and the same paint colour can appear different beside an aged finish. Ask the contractor to distinguish the board replacement area from the finishing and painting areas.
Room lighting makes a difference to the appearance of the completed work. A long wall washed by daylight or a ceiling with strong side lighting can reveal slight changes in texture or flatness. Discuss these conditions during the estimate. An honest explanation of the likely blend is more useful than a promise that every patch will be invisible under every lighting condition.
If painting is assigned to a separate trade, coordinate the handoff. Clarify who will prime the repaired area, who will match the colour and sheen, and whether the whole wall or ceiling is included. Keep a labelled paint record if one is available, but allow for differences caused by age, application method, and surface condition. A complete finish scope reduces last-minute surprises.
Use an estimate that separates the stages
A useful estimate identifies removal, disposal, protection, backing or framing adjustments, boarding, joint finishing, texture work, and painting where included. It also states what has to happen before the contractor starts. Plumbing testing, drying confirmation, cleanup, or building approval should appear as clear dependencies when they apply, rather than being buried in an assumption that the room is ready.
Ask how concealed conditions will be handled. The contractor may find damage beyond the initial opening or discover that the existing assembly differs from what could be observed. Agree on a process for documenting findings and approving additional work. This gives you control over changes without encouraging anyone to cover a condition simply to stay within an incomplete original scope.
Scheduling should account for more than the time spent fastening a patch. Access, compound drying, texture application, surface preparation, and painting all affect the sequence. Avoid insisting on a fixed completion date before the leak and drying stages are settled. A realistic plan describes the order of work and the conditions that move the project into its next stage.
Keep a simple repair record
Create one folder for the incident. Include dated photographs, the source of the leak as identified by the plumber, repair invoices, drying or cleanup information, and images of the open cavity before reconstruction. Add the drywall estimate and any approved scope changes. This record helps future maintenance and gives everyone involved a consistent account of what was repaired.
For a shared building, ask the manager what documentation is required and who can approve reconstruction. For an insurance claim, ask the insurer or adjuster what information they need; do not assume that a contractor's estimate means a particular item is covered. Those administrative questions should be handled alongside the physical work, without delaying a necessary response to an active leak.
Check the completed room and the repaired system
Review the finished surface with the contractor under ordinary room lighting. Discuss texture transitions, paint boundaries, and any remaining touch-ups against the agreed scope. Separately, follow the plumber's instructions for monitoring the repaired system. A finished wall is not the place to test an unresolved connection, and an old stain should not be confused with fresh moisture.
Keep an eye on the area during normal fixture use and after any relevant appliance cycle. If a new damp mark, odour, or change appears, report it promptly and refer to the repair record. Do not simply add another coat of stain-blocking primer. The purpose of the work is to restore both the functioning system and the room around it.
Calgary Drywall's water and mold damage repair service and quote request provide a starting point for discussing the reconstruction stage. Share what happened, what the plumber repaired, and whether drying or cleanup is complete. With those facts established, the drywall scope can address the actual damage and bring the room back together in the right order.
Easy steps to create a color palette
Lorem ipsum dolor sit amet, consectetur adipiscing elit lobortis arcu enim urna adipiscing praesent velit viverra sit semper lorem eu cursus vel hendrerit elementum morbi curabitur etiam nibh justo, lorem aliquet donec sed sit mi dignissim at ante massa mattis.
- Neque sodales ut etiam sit amet nisl purus non tellus orci ac auctor
- Adipiscing elit ut aliquam purus sit amet viverra suspendisse potent
- Mauris commodo quis imperdiet massa tincidunt nunc pulvinar
- Excepteur sint occaecat cupidatat non proident sunt in culpa qui officia
What is a color palette?
Vitae congue eu consequat ac felis placerat vestibulum lectus mauris ultrices cursus sit amet dictum sit amet justo donec enim diam porttitor lacus luctus accumsan tortor posuere praesent tristique magna sit amet purus gravida quis blandit turpis.

Don’t overspend on growth marketing without good retention rates
At risus viverra adipiscing at in tellus integer feugiat nisl pretium fusce id velit ut tortor sagittis orci a scelerisque purus semper eget at lectus urna duis convallis porta nibh venenatis cras sed felis eget neque laoreet suspendisse interdum consectetur libero id faucibus nisl donec pretium vulputate sapien nec sagittis aliquam nunc lobortis mattis aliquam faucibus purus in.
- Neque sodales ut etiam sit amet nisl purus non tellus orci ac auctor
- Adipiscing elit ut aliquam purus sit amet viverra suspendisse potenti
- Mauris commodo quis imperdiet massa tincidunt nunc pulvinar
- Adipiscing elit ut aliquam purus sit amet viverra suspendisse potenti
What’s the ideal customer retention rate?
Nisi quis eleifend quam adipiscing vitae aliquet bibendum enim facilisis gravida neque euismod in pellentesque massa placerat volutpat lacus laoreet non curabitur gravida odio aenean sed adipiscing diam donec adipiscing tristique risus amet est placerat in egestas erat.
“Lorem ipsum dolor sit amet consectetur adipiscing elit, sed do eiusmod tempor incididunt ut labore et dolore magna aliqua enim ad minim veniam.”
Next steps to increase your customer retention
Eget lorem dolor sed viverra ipsum nunc aliquet bibendum felis donec et odio pellentesque diam volutpat commodo sed egestas aliquam sem fringilla ut morbi tincidunt augue interdum velit euismod eu tincidunt tortor aliquam nulla facilisi aenean sed adipiscing diam donec adipiscing ut lectus arcu bibendum at varius vel pharetra nibh venenatis cras sed felis eget.